A process map visually describes workflows or the events that produce a particular outcome. Process maps can be helpful in identifying challenges, determining opportunities for innovation, or modeling complexity. Process maps are also useful in defining boundaries and accountability.
Steps:
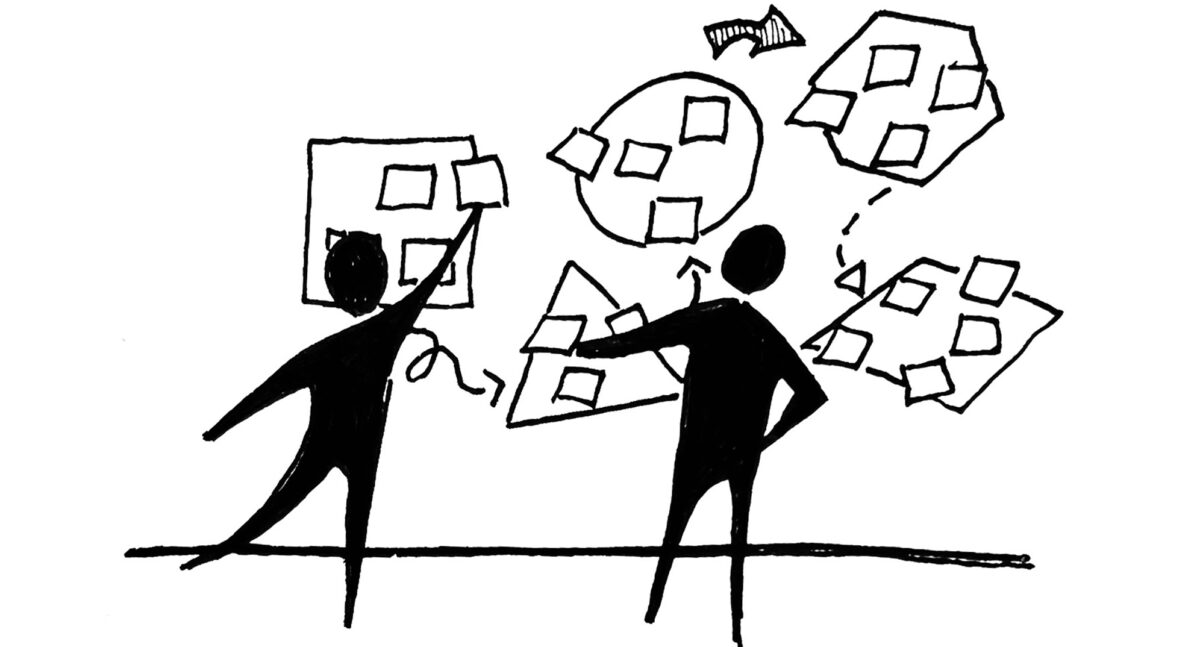
- Brainstorm the activities involved in the process. To do this:
- Imagine describing the process to someone who has never completed it before.
- Take the perspective of different actors in the process and write out the steps of the process from their point of view.
- To ensure nothing is missed, work backwards and forwards from each step.
- Determine the boundaries of the process – where or when does it start and stop?
- To create the map:
- Place each step in order.
- Connect each step with an arrow to show a flow.
- Outline each step with a shape to symbolize the different types of actions.
Considerations:
- Unified modeling language is an international standard for drawing maps. If it’s helpful, consider the symbol key here:
- Ovals for the beginning or ending.
- Rectangles for an activity.
- Arrows for the directional flow.
- Diamonds for a decision point (Arrows coming from a diamond indicate the possible choices).
- Parallelograms for an input or output.
- To digitize a process map, consider the various chart styles in the Microsoft suite or using a process mapping software like Lucidchart
- When creating process maps, it can be easy to refine focus to a point where the level of specificity detracts from the tool’s utility. Decide on the optimal level of detail early to prevent over complication of the process map.
- Collaborate with stakeholders to create the process map and avoid omitting key steps
References:
- Lucidchart (2020). “What is Process Mapping” Retrieved from https://www.lucidchart.com/pages/process-mapping